
In a mixed-language project (a project which has both Objective-C and Swift), you’ll most likely want to expose the Objective-C code to Swift and vice versa.
In order to:
- Expose Objective-C code to Swift, you’ll need an Objective-C Bridging Header file;
- Expose Swift code to Objective-C, you'll need to import the Swift Bridging Header file, created by Xcode.
It is recommended to read this article before, or during, migrating your Objective-C project to Swift and prior to reading this article.
Expose Objective-C Code to Swift
To access Objective-C code using Swift within the same target, you'll need an Objective-C bridging header file. Inside this file, you import all the Objective-C classes that you need to be exposed (note that these Objective-C classes must be public).
Xcode offers to create this header when you add a Swift file to an existing Objective-C app or an Objective-C file to an existing Swift app:
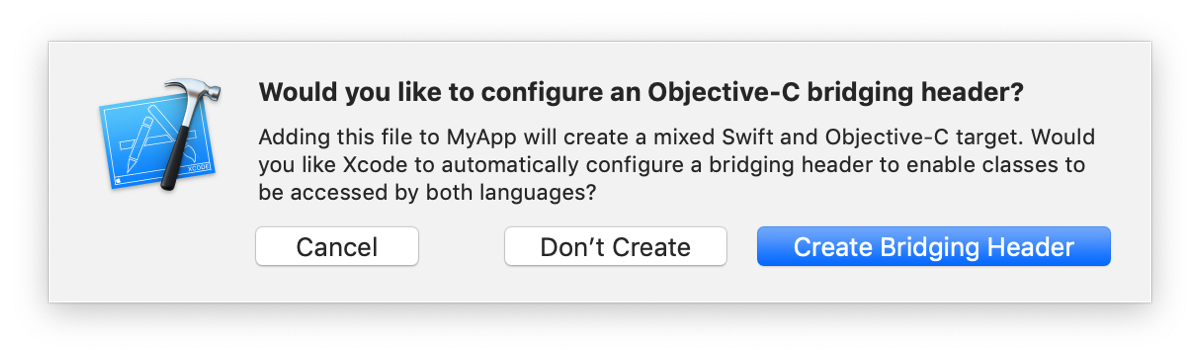
The Objective-C declarations are automatically available from any Swift file within that target, without any import statements! Use classes and other declarations from your custom Objective-C code with the same Swift syntax you use for system classes.
Read more on this topic in the Apple’s documentation: Importing Objective-C into Swift.
Expose Swift Code to Objective-C
The easiest way to expose your Swift code to Objective-C is by importing the Swift Bridging Header file (ProjectName-Swift.h, which is automatically generated by Xcode) from the Precompiled Header file.
This way you avoid the need to import the Swift Bridging Header from every Objective-C file that depends on Swift code.
More on this topic in our FAQ post.
Swiftify and Bridging Headers
The Advanced Project Converter automatically generates Objective-C and Swift bridging header files so that you can use Objective-C code from Swift and vice versa.
These bridging header file(s) are generated when you take any of these actions in the Advanced Project Converter:
- Open a project and confirm the prompt to generate bridging header files.
- Press a toolbar button to generate bridging header files at a later time.
Objective-C Bridging Header
The Objective-C bridging header file is automatically added to your project, and updated while you gradually convert your project to Swift.
Your bridging header will be called something like `ProjectName-Bridging-Header.h`, open it and you’ll find a section that is automatically inserted, and updated, by Swiftify:
// ——————————————————————————————————————
// Begin Swiftify generated imports
//
// #import <Foundation/Foundation.h>
// #import <UIKit/UIKit.h>
//
// End Swiftify generated imports
// ——————————————————————————————————————
This section collects imports from all Objective-C source files and the PCH (precompiled header) file and excludes any imports for files already converted to Swift (so, if you convert MyViewController class to Swift, the corresponding import will be automatically deleted from this section).
If you need to import any other custom files, add your custom imports outside the section managed by Swiftify.
Since the Swift bridging header file cannot be imported from header (.h) files (due to circular referencing issues), Swiftify automatically generates forward `@class` declarations for header files that depend on Swift code.
Comments
0 comments
Please sign in to leave a comment.